Installing an mCard Accessory Card
Caution: To avoid damage due to the accumulation of static charge, use proper precautions when handling the accessory card. Although input protection circuitry has been incorporated into the devices to minimize the effect of static build-up, use proper precautions to avoid exposure to electronic discharge during handling and installing the device.
NOTE: Use only one LoRa card per Conduit.
You need:
- Phillips screwdriver
- mCard™ Accessory card
- Gateway device
To install the accessory card:
- Disconnect power to the gateway device.
WARNING: Failing to disconnect power before installing the accessory card may damage both the gateway and the accessory card. - At the back of the housing, determine where you want to install the accessory card. You can install the card in either the AP1 or AP2 port. Remove the port cover and retain the screw.
- Slide the card into the opening and push until you feel the card connector seat in the internal connector.
- Use a small Phillips screwdriver to attach the card bracket to the housing with the screw from the port cover.
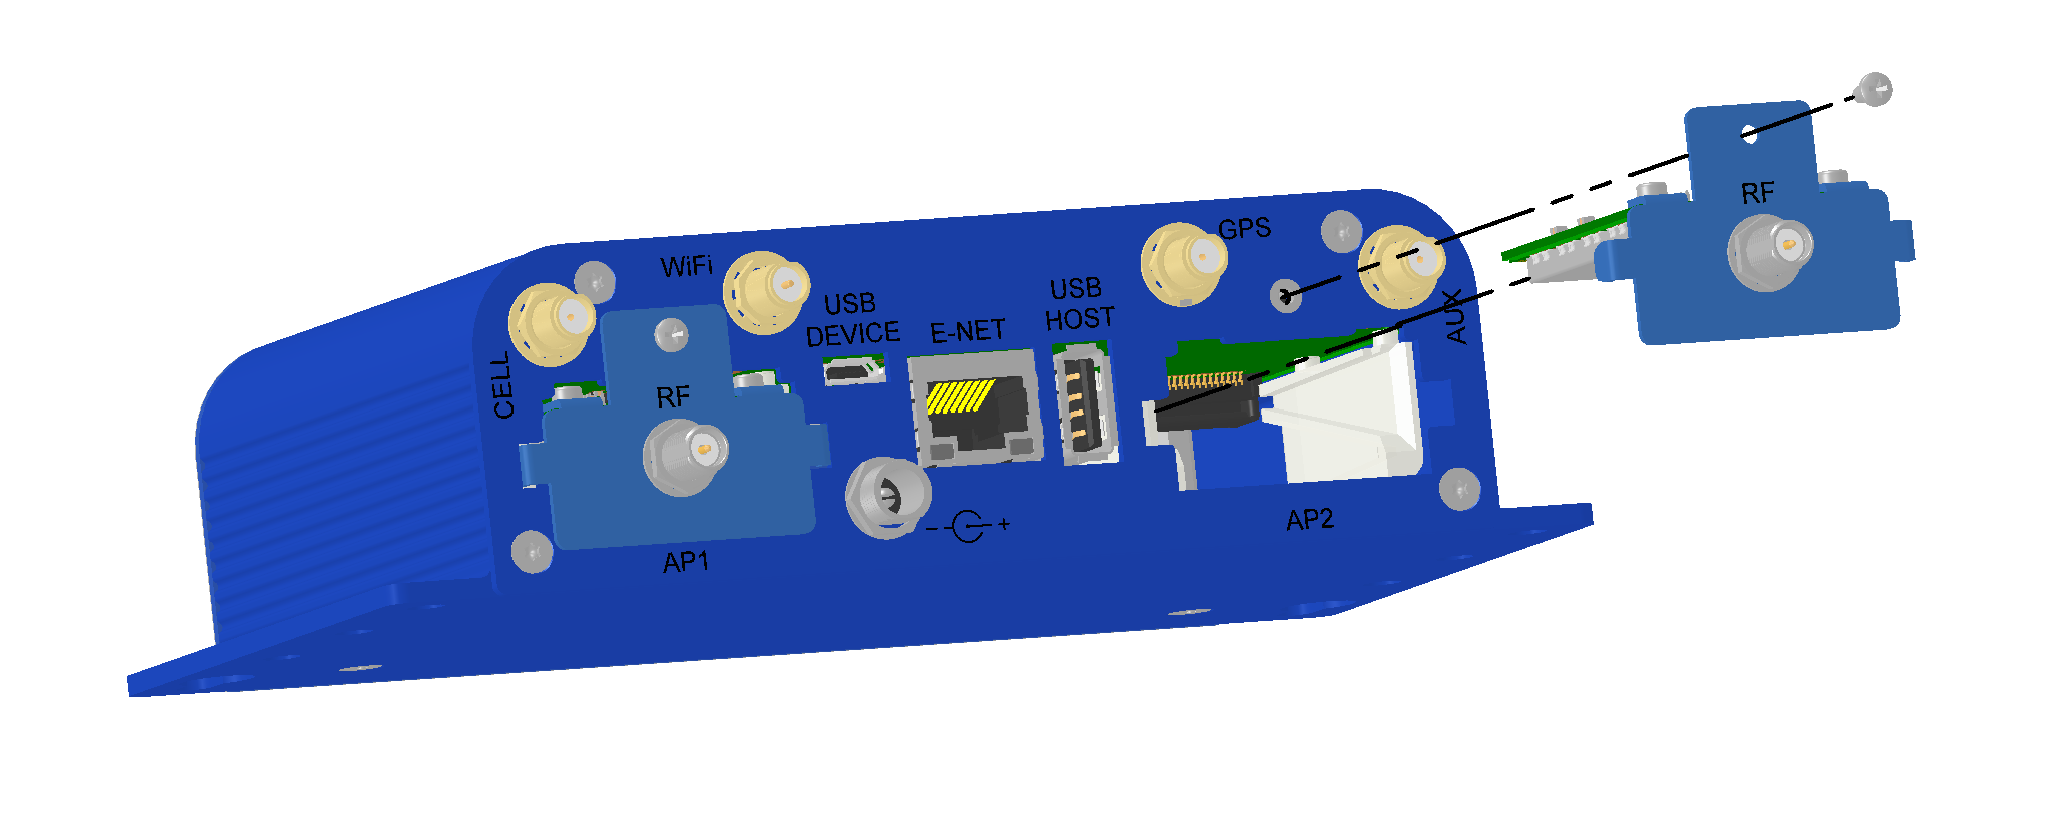
Accessory card installation shown here with a Conduit and MTAC-LoRa.